Hey Anny!
It's been a while, life was wibbly wobbly, timey whimey and just overall weird and exhausting years (well decades by now.. It still is...) I did survive, by crafting. The past year has been mostly art journal pages for myself.
This year, I want to send around a bit more happy mail! My friend Zeynep finally got a new PO box for herself. To celebrate, I sent her a postcard to see if it will reach her. (Turkish Post is awful, so many lost mail!!!) Anyway, before I lose track, we decided to do a little challenge with some tags. (photos will be added later) I was suppose to make a blogpost about that, but... I forgot to take photos in between the techniques I used on 3 tags. Instead I asked her to pick one of the cards, that I could recreate the background of and write about. So here it is, enjoy.
First thing first, a list of materials I used.
Written on the paper I used to work on.
First the tag, I bought this package of tags from
Deco Time. You can of course just cut your own tag. This was just easy.
Then the die-cuts. These are some I cut from left over paper pieces, so I could throw out the left overs.
I have a lot of gear dies, absolutely love to use them. The dies I used are either presents from you (Anny), Studio Light or bought from AliExpress or Temu.
Glue. I used the tacky glue from Studio Light, cause it has a little opening and is easier to control when using it on thin and tiny pieces.
Picked out all the small ones out of the stack.
Play around and see what looks good.
Then glue them down on the paper the way I liked them.
(Instead of the dies you can use rice paper, book pages, emboss it.. many ways to Rome. No, not all ways! Experiment and see what else works for you.)
Cut of the excessive pieces. You can reuse them again on the paper. I did it with a little piece on the left down side. The bigger pieces can be used for something else, keep them. The smaller are for the paper bin.
Then comes the gesso. I am using the van Bleiswijck, mainly because it is a cheap option and easily available in the Action. These 500 ml bottle goes a long way!
(I have a bucket of Art Creation that I will use after that... but the fear of me spilling that is soooo big!)
I put down two layers of it and let it air dry. If that takes to long, you can always use a heat tool. I put a paper underneath it while I painted, to keep the desk clean, but also because I will use the paper as a palette.
First layer will be brown. I usually undo the cap, so I can get the paint from the bottle.
(Mainly so I do not end up with insane amount of paint left over on a palette and waste it)
I use the dry brush technique. Don't wet your brush and put the paint on the paper light strokes. This creates a an uneven look and will bring out the dies. As you can see I used the paper underneath it as a palette to get rid of the too much paint on my brush. Or to try out the strokes before I put it on the tag.
I repeated this again with a metallic brown colour. This time I did not do the whole page, but chose areas to add the paint.
A close up, from a different angle so you can see the metallic parts.
Do this while painting, so you can see if you are happy with the result.
Repeated the step again with the blue metallic colour. Well Sapphire metallic colour ;)
I really love this colour!
End result with the the paints. Don't overdo it or cover too much of the previous colours.
End result.
My next step is using stamps to add some depth to it. I choose the numbers on this stamp set and the memento ink. It's a dye ink that dries out fast.
The stamps are on.
Close up.
Even if it s a fast drying ink, you can smudge it out, when you put it on acrylic paint. Which is handy in this case, when I stamped on the die-cuts.
The result. I was happy with it, but missing something...
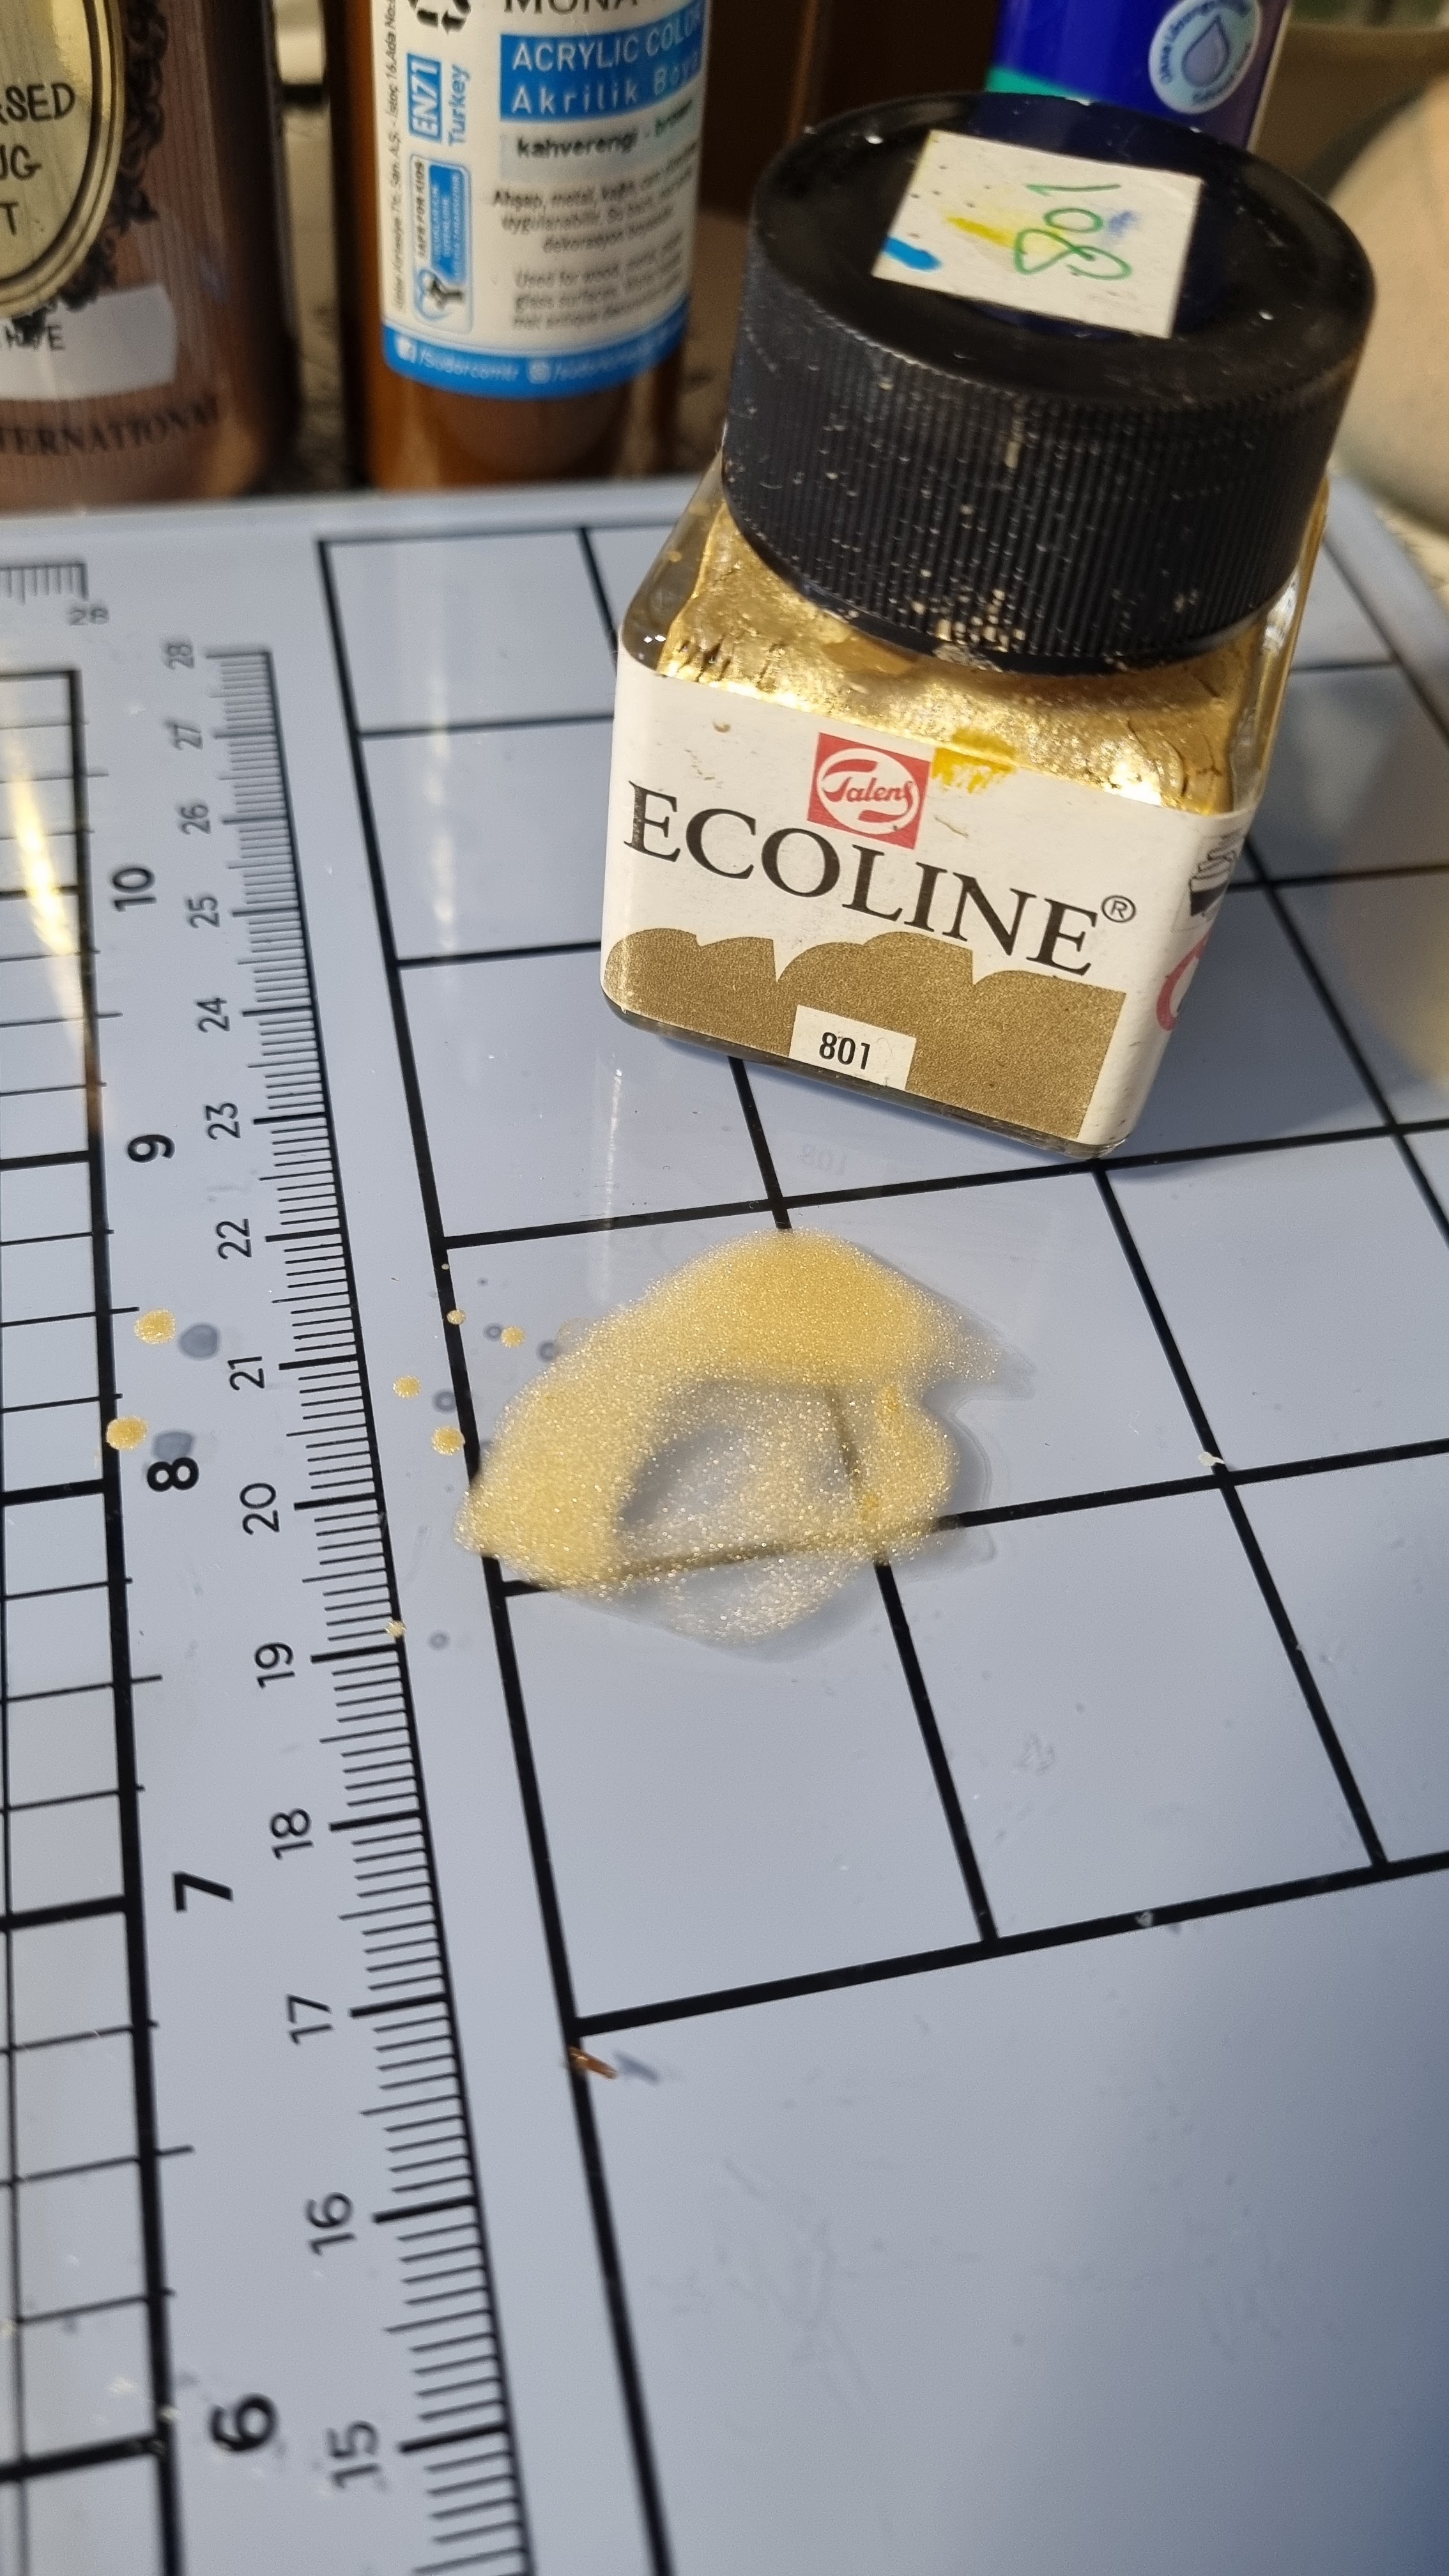
Some gold splatters! I have this Ecoline bottle on my desk to use when I feel like it.
Really handy!
Now it feels finished!
I usually have an image that I add to it...
oooh shineeey!
(watercolour wasn't dried, but it was dinner time!)
I hope you enjoyed this!
I'll try to blog more often, because I sort of missed it.
Also, I really should get a new holder so I can take videos...
Have a crafty day!
ST.


Comments
Post a Comment